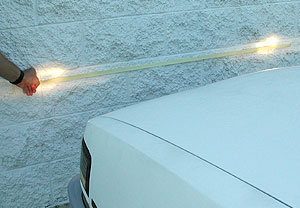
Begin by finding a level surface and a vertical garage door or wall. Park the vehicle close to the wall and mark the lights' horizontal centerlines with masking tape
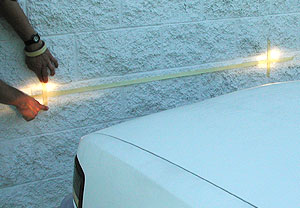
Next, mark the low beams' vertical centerlines. For better precision, stand behind the car at its center point and, looking through the back window, guide a helper in marking vertical dead center. Marking the vehicle's centerline is also helpful to verify side-to-side alignment.
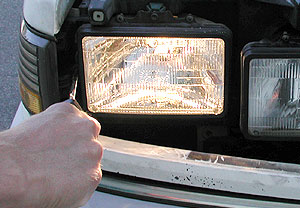
Park the vehicle on a flat surface 25 feet away from the wall, pointing straight ahead. Use the lights' horizontal- and vertical-adjusting screws to position the low beams' intensity zones two inches below and to the right of the taped centerlines. (Trim ring removed to show adjusters.)
Adjustments can normally be made without removing any parts. Turning the top adjusting screw clockwise raises the beam and vice versa. Similarly, the side adjuster moves the beam left and right.
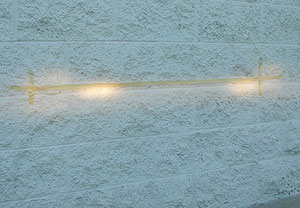
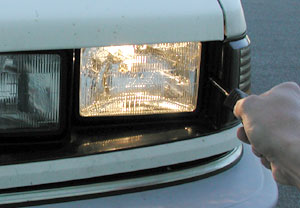
High beams' "zones" should be below the line and vertically centered in relation to the vehicle's centerline (not marked with tape in this example). Here, the right-side high beam needs to come inboard. When in doubt, be courteous and err your aim low and to the right.